Introduction
Dive into the enchanting world of hydrangeas and discover the secrets to cultivating these stunning blooms in your garden. Imagine a landscape adorned with large, colorful clusters of hydrangea flowers, creating a picturesque scene that captivates the eye. In this guide, we’ll explore the art of growing and caring for hydrangeas, providing practical tips, step-by-step instructions, and creative ideas to ensure your garden is graced with the beauty of these versatile and vibrant plants.
Hydrangea Magic: The Allure of Growing these Blooms
Hydrangeas are not just flowers; they’re a garden spectacle:
Advantages of Growing Hydrangeas
- Diverse Blooms: Hydrangeas offer a variety of flower shapes, sizes, and colors, allowing you to choose the perfect fit for your garden.
- Versatile Landscaping: Whether in borders, containers, or as focal points, hydrangeas add a touch of elegance and charm to any garden design.
- Long Blooming Period: Depending on the variety, hydrangeas can bloom from spring to fall, providing an extended period of floral delight.
Planting the Seeds of Hydrangea Beauty: Practical Tips for Your Garden
1. **Choosing Hydrangea Varieties
- Bigleaf Hydrangeas (Hydrangea macrophylla): Known for their large, globe-like flower clusters. Varieties include mophead and lacecap.
- Panicle Hydrangeas (Hydrangea paniculata): Cone-shaped flower clusters, often turning from white to pink or red as they mature.
- Smooth Hydrangeas (Hydrangea arborescens): Rounded flower clusters, including the popular ‘Annabelle’ variety.
2. **Selecting a Planting Location
- Sunlight Requirements: Most hydrangeas prefer morning sun and afternoon shade. However, some varieties tolerate full sun or full shade.
- Well-Draining Soil: Ensure well-draining soil rich in organic matter. Hydrangeas dislike waterlogged conditions.
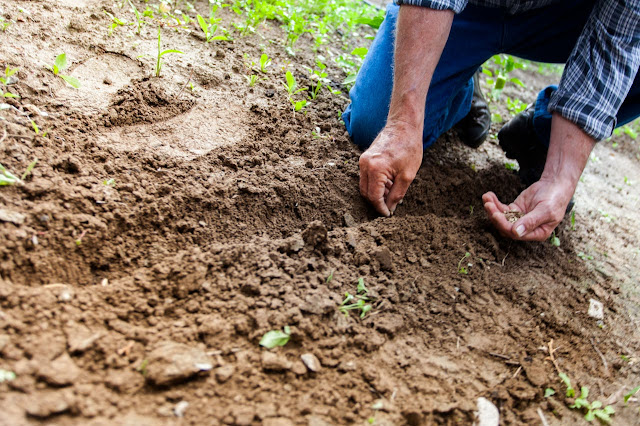
3. **Planting Hydrangeas
- Digging the Hole: Dig a hole twice the width of the hydrangea’s root ball and just as deep.
- Amending the Soil: Mix organic matter like compost into the soil to enhance fertility and drainage.
- Placing the Hydrangea: Set the hydrangea in the center of the hole, ensuring the top of the root ball is level with the soil surface.
FAQs: Navigating the Hydrangea Growing Journey
Q: Can I grow hydrangeas in containers?
A: Yes, many hydrangea varieties thrive in containers. Choose a large container with drainage holes and use well-draining potting mix.
Q: How often should I water hydrangeas?
A: Keep the soil consistently moist, especially during dry spells. However, avoid waterlogging, as hydrangeas are susceptible to root rot.
Q: When is the best time to prune hydrangeas?
A: Prune after flowering for varieties that bloom on old wood (e.g., mophead hydrangeas) and in late winter or early spring for those that bloom on new wood (e.g., panicle hydrangeas).
Cultivating Hydrangea Beauty: Steps for Your Garden
1. **Planting and Watering
- Planting Depth: Set the hydrangea at the same depth it was in the nursery container. Water thoroughly after planting.
- Mulching: Apply a layer of organic mulch around the base of the hydrangea to retain moisture and suppress weeds.
2. **Watering and Feeding Routine
- Consistent Moisture: Keep the soil consistently moist. Water deeply to encourage deep root growth.
- Fertilizing: Feed hydrangeas in spring with a balanced fertilizer. Consider a slow-release fertilizer for long-lasting nutrition.
3. **Pruning and Shaping
- Mophead and Lacecap Hydrangeas: Prune after flowering to remove spent blooms and shape the plant.
- Panicle Hydrangeas: Prune in late winter or early spring to shape and control size.
4. **Adjusting Flower Color
- For Pink or Blue Blooms: Adjust soil pH to influence flower color. Acidic soil promotes blue blooms, while alkaline soil encourages pink blooms.
DIY Hydrangea Beauty Project: Creating a Floral Border
Materials Needed:
- Hydrangea plants (assorted varieties for a mix of colors and shapes)
- Trowel or shovel
- Organic compost
- Mulch
- Garden border edging
Instructions:
- Planning the Border:
- Outline the border of your garden bed using garden border edging.
- Preparing the Soil:
- Dig a trench along the border and amend the soil with organic compost.
- Planting Hydrangeas:
- Arrange hydrangea plants in the prepared trench, spacing them according to their mature size.
- Backfilling and Mulching:
- Backfill the trench with soil, ensuring the hydrangea plants are at the appropriate depth. Apply a layer of mulch.
- Watering and Maintenance:
- Water the newly planted hydrangeas thoroughly. Mulch helps retain moisture and regulates soil temperature.
- Enjoying the Floral Border:
- Watch as your hydrangea border blooms with an array of colors, creating a stunning floral display.
Conclusion: Reveling in Hydrangea Splendor
Congratulations, budding horticulturist! You’ve embarked on the journey of growing and caring for hydrangeas in your garden, ensuring a landscape adorned with the beauty of these enchanting blooms. Your garden is now more than just a collection of plants; it’s a canvas painted with the vibrant hues and lush foliage of hydrangea splendor.
In this guide, we’ve explored the advantages of growing hydrangeas, provided practical tips, and inspired you with a DIY hydrangea border project. So, the next time someone asks, “How to Grow and Care for Hydrangeas in Your Garden – where do I start?” You can confidently respond, “Select, plant, nurture, and revel in the hydrangea splendor of my garden.”
Now, envision the large, colorful clusters of hydrangea blooms gracing your garden, creating a visual masterpiece that delights the senses. Happy gardening and savor the beauty of your hydrangea haven!