Are you tired of store-bought salad greens that lack the flavor punch you crave? Well, it’s time to take matters into your own hands—literally! In this guide, we’ll dive into the art of growing your own salad greens in a container. No need for a sprawling garden; even a modest balcony can become your salad haven. Get ready to embark on a journey where the satisfaction of plucking fresh greens meets the convenience of having them just a step away from your kitchen. Let’s unlock the secrets to a vibrant container garden that will leave your taste buds singing with joy!
Introduction: Sow the Seeds of Salad Success
Growing salad greens in a container isn’t just about saving a trip to the grocery store; it’s a flavorful adventure that puts you in control of your food. Imagine having a lush assortment of lettuce varieties, spinach, arugula, kale, and more, all within arm’s reach. This guide is your roadmap to creating a mini salad paradise, and we’re starting right from the basics.
Container Gardening 101: Setting the Stage
1. Pick the Perfect Pot:
- Go deep and go drainage! Select a container with drainage holes to keep your greens from turning into a waterlogged mess.
- Opt for materials like plastic, ceramic, or fabric. They retain moisture without drowning your plants.
2. Salad Green Extravaganza:
- Mix it up! Choose a variety of greens for a salad that’s a symphony of tastes and textures. Think leaf lettuce, romaine, butterhead, spinach, arugula, kale, Swiss chard, mustard greens, radicchio, and mizuna. Phew, that’s a salad party waiting to happen!
3. Potting Mix Prowess:
- Don’t skimp on the mix! Invest in quality potting mix enriched with organic goodness. Your greens will thank you for the nutrient boost.
- Leave the garden soil for the ground; it may compact in containers and stifle your green buddies’ roots.
4. Sunlight Spotlight:
- Bright is right! Place your container where it can soak up at least 6 hours of sunlight daily. If the sun plays hide and seek, no worries—go for greens that enjoy a bit of shade, like spinach and lettuce.
Planting and TLC: Nurturing Your Green Babies
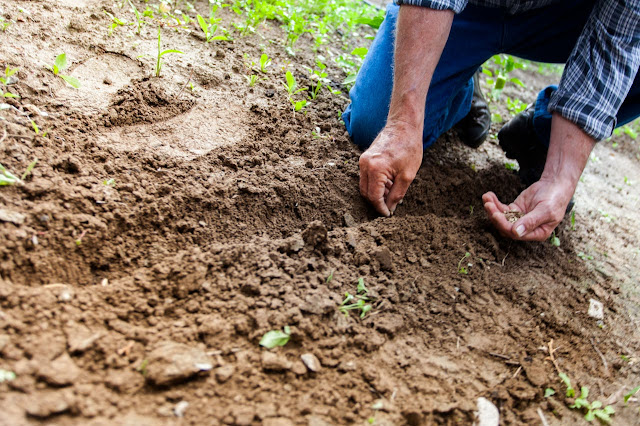
1. Seed Symphony:
- Read the seeds’ minds! Follow the packet instructions for planting depth and spacing. Your greens have preferences too!
- Sprinkle those seeds like confetti across the soil surface and cover them lightly with more potting mix. Let the planting party begin!
2. Seedlings Express:
- Want a shortcut to salad town? Start with seedlings or transplants for a speedier harvest. They’re like the instant noodles of the gardening world.
- Pop those seedlings in with the right spacing, as recommended for each green VIP in your container.
3. Watering Wisdom:
- Moist, not drenched! Keep the soil consistently moist but avoid turning it into a swamp. Your greens like their feet damp, not swimming.
- Give that container a drink when the top inch of soil feels like it’s been sunbathing for too long.
4. Fertilize, Don’t Fret:
- Feed the feast! Use a balanced liquid fertilizer or sprinkle some organic compost to keep your salad greens in their prime.
- Follow the package instructions; your greens are like gourmet chefs—they appreciate a measured approach.
5. Thin for the Win:
- Less is more! If you started from seeds, thin those seedlings to give each one its breathing space. Bonus: Thinned greens are salad stars too!
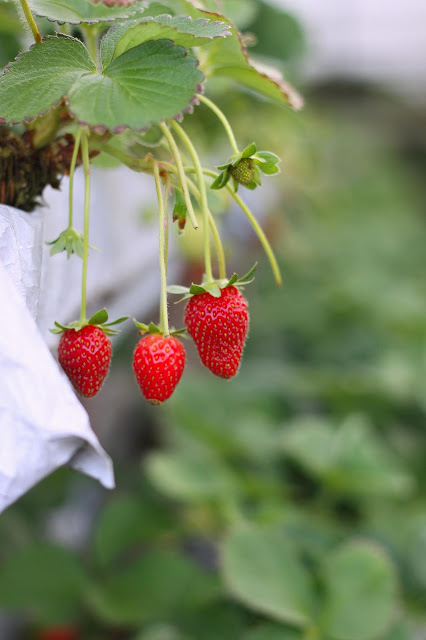
6. Harvest Happiness:
- Size matters in salads too! Harvest your greens when they’ve grown to the perfect bite-size. Grab those clean scissors or garden shears and snip away, allowing the party to keep going.
- Don’t be shy; your greens will thank you for the haircut, and you’ll thank them for the fresh, crunchy goodness.
7. Succession Planting Dance:
- Keep the party going! Extend your harvest by practicing succession planting. Plant new seeds or seedlings every 2-3 weeks to ensure a continuous supply of fresh greens. It’s like a never-ending salad festival!
Tips for Rocking Your Salad Garden
- Container Size – Go Big or Go Hungry:
- Choose a container that gives your greens room to stretch their roots. It’s the key to a salad that’s as generous as your ambitions.
- Container Cha-Cha:
- Keep the greens on their toes! Rotate containers regularly to ensure every side gets its fair share of sunlight. It’s like a sunbathing session for your plants.
- Pest Patrol – Not in My Salad!
- Keep those creepy crawlies at bay! Watch out for aphids and caterpillars. Deploy natural remedies or unleash the insecticidal soap army to protect your precious greens.
- Mulch Magic:
- Blanket your soil with love! Apply a layer of organic mulch to keep moisture in and pesky weeds out. Your greens will thank you for the cozy cover.
- Herb Harmony – Basil and Chives as BFFs:
- Add some spice to your salad story! Experiment with companion planting. Herbs like basil or chives aren’t just flavor enhancers—they’re pest deterrents too. It’s like having bodyguards for your greens!
Conclusion: Harvesting Happiness in Every Bite
Growing your own salad greens in a container isn’t just a gardening escapade; it’s a journey to rediscover the joy of fresh, homegrown goodness. Picture yourself stepping onto your balcony, plucking crisp leaves for your salad, and savoring the satisfaction of a meal nurtured by your hands. So, seize that container, gather your greens, and dive into the world of homegrown delights. Your salads will never be the same again—happy gardening and bon appétit!