1. Choosing the Right Aloe Vera Variety
Opt for Aloe barbadensis miller, known for its potent medicinal properties. Ensure your aloe plant is healthy and free from diseases when acquiring it.
2. Selecting the Perfect Pot or Location
If growing in a pot, choose one with proper drainage. For outdoor planting, select a well-drained area with partial sunlight.
3. Preparing the Soil
Use a well-draining cactus or succulent mix. If planting in the ground, add sand or perlite to improve drainage.
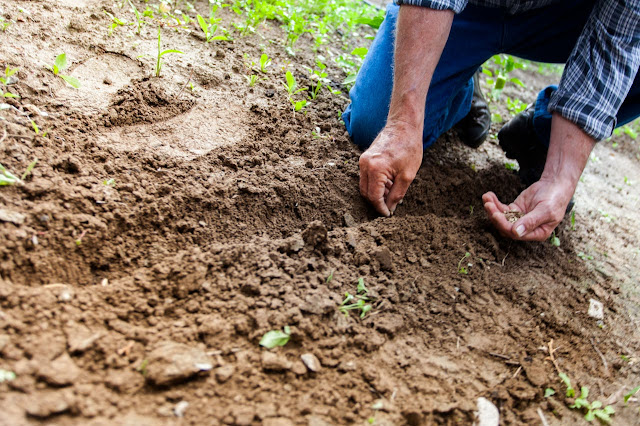
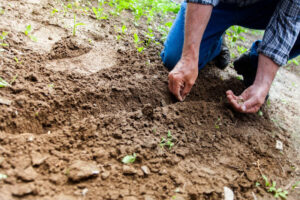
4. Planting Aloe Vera
Plant aloe vera in the selected pot or area, leaving enough space between each plant. Ensure the roots are covered but not buried too deeply.
5. Watering Wisely
Aloe vera is drought-tolerant, so allow the soil to dry between waterings. Overwatering can lead to root rot.
6. Providing Adequate Sunlight
Place your aloe vera where it receives bright, indirect sunlight. While it can tolerate some direct sunlight, prolonged exposure may cause sunburn.
7. Fertilizing Sparingly
Aloe vera doesn’t require frequent fertilization. Use a balanced, diluted fertilizer during the growing season.
8. Monitoring for Pests
Keep an eye out for pests like aphids or mealybugs. Treat infestations promptly with a gentle insecticidal soap or neem oil.
9. Harvesting Aloe Vera Leaves
Harvest leaves when they are mature, usually those from the outer part of the plant. Use clean, sharp scissors to cut them close to the base.
10. Extracting Aloe Vera Gel
Ingredients:
- Aloe vera leaves
Steps:
- Rinse the harvested leaves thoroughly to remove any dirt or debris.
- Trim off the serrated edges of the leaves and slice them open lengthwise.
- Scoop out the clear gel using a spoon or knife and collect it in a clean bowl.
- Transfer the extracted gel to a blender and blend until smooth.
- Strain the gel to remove any remaining latex or impurities.
- Store the pure aloe vera gel in a clean, airtight container in the refrigerator.
11. Creating Aloe Vera Gel Variations
Experiment by adding a few drops of essential oils like lavender or tea tree for added benefits and a pleasant fragrance.
12. Using Aloe Vera Gel
Apply the gel topically to soothe sunburns, moisturize skin, or treat minor cuts and burns. It’s a versatile natural remedy for various skin conditions.
13. Storing Aloe Vera Gel
Store the homemade gel in the refrigerator for a longer shelf life. Check for any signs of spoilage before use.
14. Propagating Aloe Vera
Expand your aloe vera collection by propagating new plants from offsets. Allow offsets to grow a few inches before transplanting.
15. Sharing Aloe Vera Care Tips
Spread the knowledge by sharing care tips with friends and family. Aloe vera’s easy maintenance makes it an excellent addition to any home.
Growing aloe vera and crafting your gel is a rewarding journey that brings the benefits of this remarkable plant to your fingertips. Embrace the natural goodness and enjoy the versatility of your homemade aloe vera gel!
FAQs:
Q1: Can I grow aloe vera indoors?
A1: Absolutely! Aloe vera adapts well to indoor conditions, but ensure it receives sufficient sunlight near a window.
Q2: How often should I water my aloe vera plant?
A2: Water sparingly, allowing the soil to dry between waterings. Overwatering can lead to root rot.
Q3: Are there any precautions when extracting aloe vera gel?
A3: Be cautious of the yellow latex near the skin as it can cause irritation. Thoroughly wash the gel to remove any traces of latex.
Q4: Can I use aloe vera gel on my face every day?
A4: Aloe vera is generally safe for daily use. However, conduct a patch test first, especially if you have sensitive skin.
Q5: How do I propagate aloe vera offsets?
A5: Allow offsets (small shoots around the base of the plant) to grow a few inches. Gently remove them and transplant into their own pots or areas.